Deploy Node.js backend to DigitalOcean Server
If you are looking to deploy your backend app over ubuntu server in digitalOcean then this blog will help you alot..
Step 1:- Create your droplet in digital Ocean

select your region for droplet and then

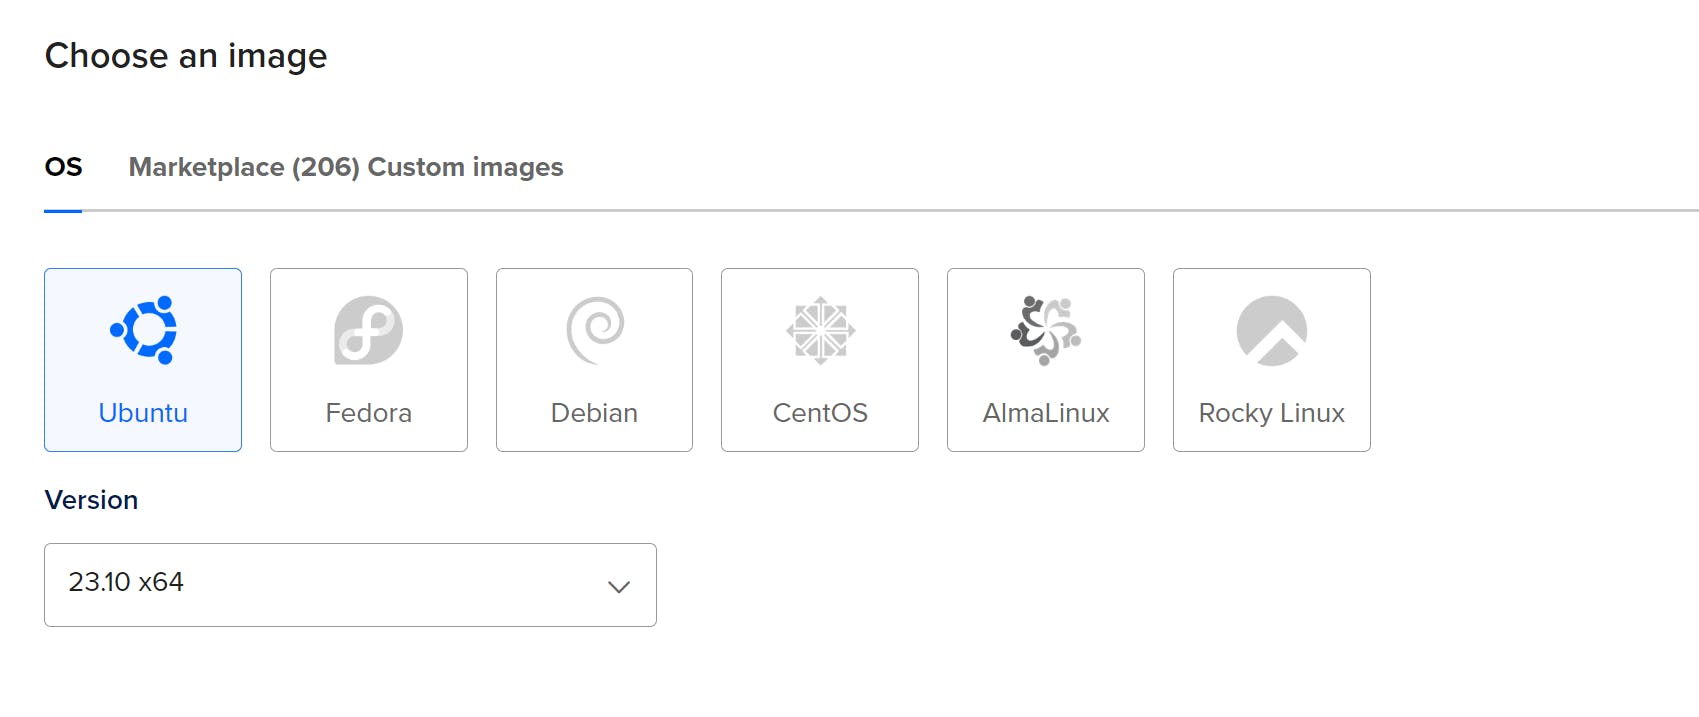
here, I'm using ubuntu OS for this blog but you can use any of these.

here you can choose your plan with your desired disk. and then just create your droplet.

Click on droplet name and then just go to your console of droplet (console will be visible in right side after clicking on droplet.)
after that you have your ubuntu server ,Now you need to setup your node app to ubuntu server.
Step 2: Clone your Repo from git
first you need to install git in your server with below command.
sudo apt-get install git
Now you can directly clone your repo with following command
sudo git clone yourrepoUrl
let's install nodejs and npm with following command
sudo apt-get install nodejs
sudo apt-get install npm
now got to your nodeApp directive and just install node packages.
root@yourUbuntuserver:~# cd yourRepo
root@yourUbuntuserver:~/yourRepo# sudo npm i
npm i will install the packages.
after this run your node app with following command:
let's I have a file name index.js (this is main file that have everything like routes and db connection )
root@yourUbuntuserver:~/yourRepo# sudo node index.js
this will run on your desired port(whatever your define in your index file).
for checking your server is running or not just type this cmd
root@yourUbuntuserver:~/yourRepo# sudo curl http://localhost:3300/yourApiRoute
here 3300 is my port you can change it with your port number.
Step 3: Install and setup PM2
we are using this pm2 process manager for running your node app in background.
root@yourUbuntuserver:~/yourRepo# sudo npm i pm2 -g
it will install pm2 in your server globally. Now, you can manage your app with pm2(start, stop, restart).
for starting your node server You need to type this cmd
root@yourUbuntuserver:~/yourRepo#sudo pm2 start index.js
root@yourUbuntuserver:~/yourRepo#sudo pm2 stop index.js
change index.js with your file name
root@yourUbuntuserver:~/yourRepo#sudo pm2 status
to check the status of your pm2 (like which file is running or not)
Now, Your app is always running in background.
Step 4: Enable UFW firewall
Now let’s enable the ufw firewall with 3 ports(ssh(22), http(80) and https(443)).
bydefault ufw firewall is inactive.
root@yourUbuntuserver:~# sudo ufw enable
It will enable ufw firewall, Now we just need to allow those ports
root@yourUbuntuserver:~# sudo ufw allow ssh
root@yourUbuntuserver:~# sudo ufw allow http
root@yourUbuntuserver:~# sudo ufw allow https
Now you can check status of ufw with this cmd
root@yourUbuntuserver:~# sudo ufw status
Step 5: Use Nginx as a reverse proxy
First of all, we need to install nginx in our server
root@yourUbuntuserver:~# sudo apt-get install nginx
Now you need to create a file inside sites-available directory and delete others file from that directory
root@yourUbuntuserver:~/etc/nginx/sites-available# touch fileName
inside this directory there is a file name as default (Just remove this file )
and add these things in your file
server{
  server_name 165.232.177.116;

      location / {
        proxy_pass http://localhost:3000;
        proxy_http_version 1.1;
        proxy_set_header Upgrade $http_upgrade;
        proxy_set_header Connection 'upgrade';
        proxy_set_header Host $host;
        proxy_cache_bypass $http_upgrade;
    }
}
here, change ip as your ip and port 3000( with your port numer ) then save it .
then hit a cmd
root@yourUbuntuserver:~#sudo ln -s /etc/nginx/sites-available/yourfileName /etc/nginx/sites-enabled
then just restart nginx server and good to go.
root@yourUbuntuserver:~# sudo systemctl restart nginx
Now, you can check your public Ip and your app is running!!!!!!!!